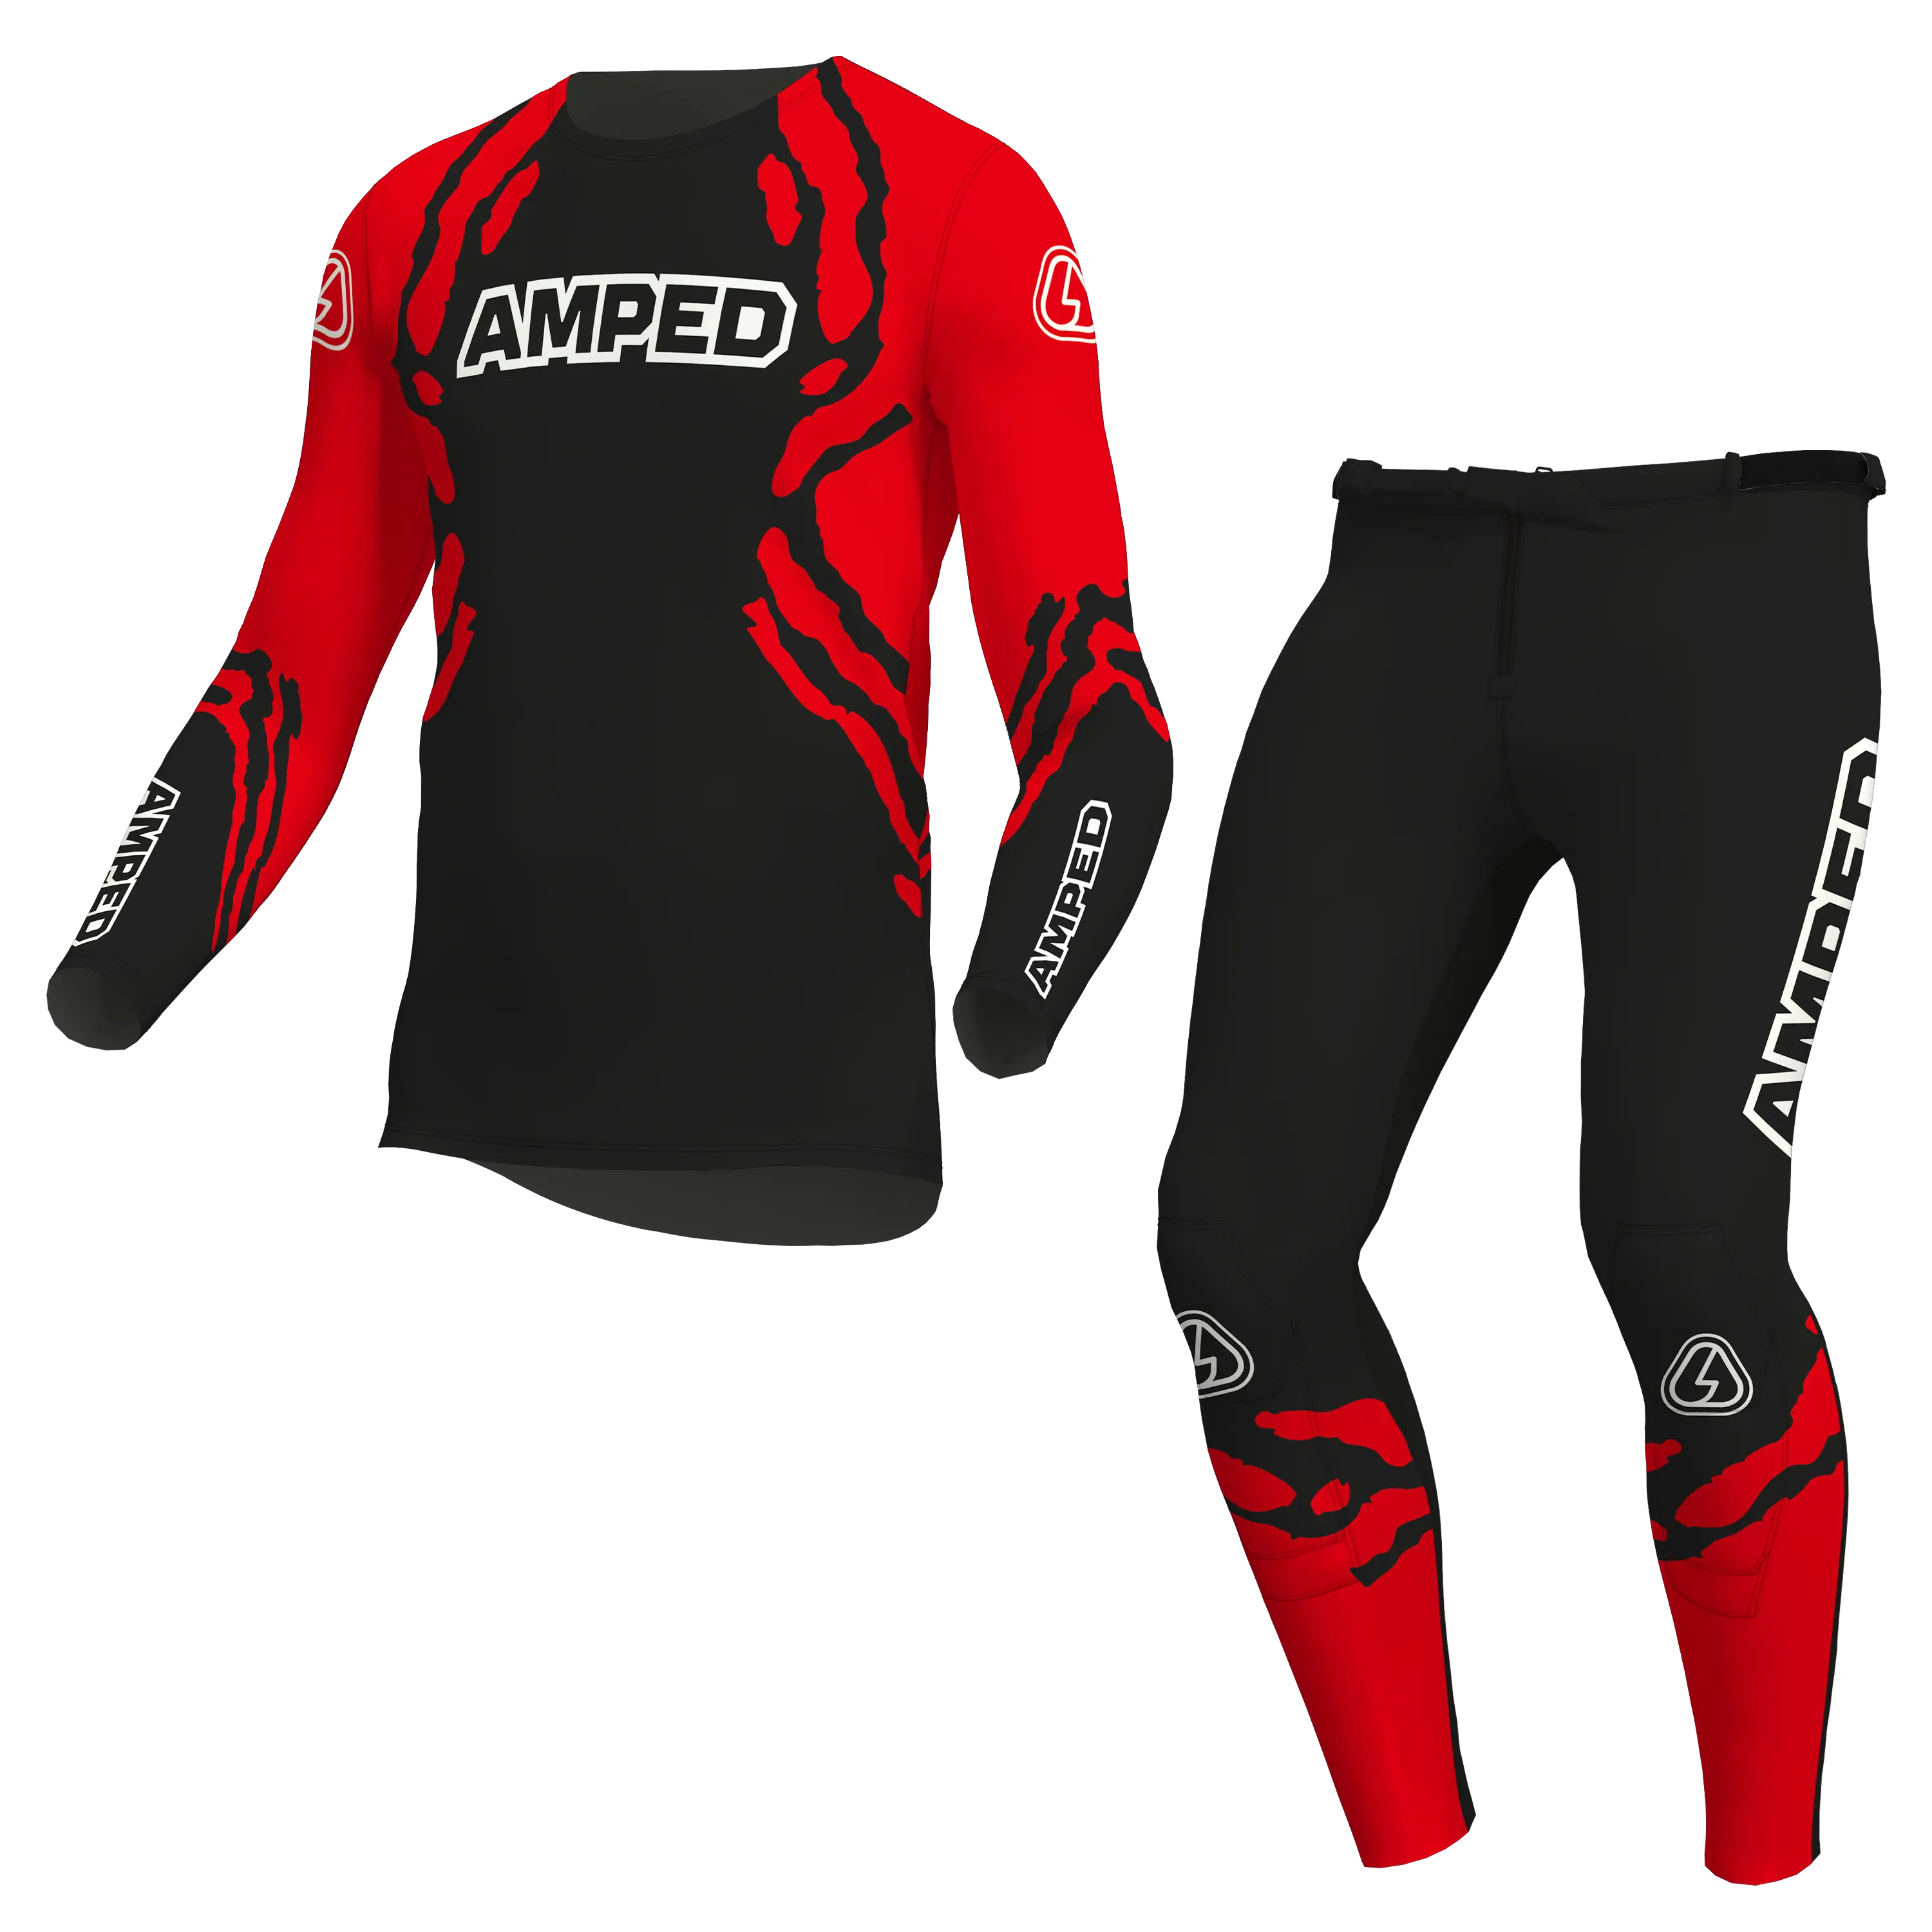

How to Apply MX graphics
Applying mx, enduro, adventure and trial bike graphics is all about patience, preparation and taking your time. Don’t rush the process. A clean, careful install will always give the best result.
Before You Start
Make sure your plastics are:
Clean
Wash off any dirt, mud, grease or old adhesive.
Dry
Graphics will not stick properly to damp plastics.
Warm
Apply graphics at room temperature where possible. Cold plastics and cold graphics are harder to work with and may not bond as well.
What You’ll Need
- A clean cloth
- Panel wipe or isopropyl alcohol
- A squeegee or soft plastic applicator can help
- A heat gun or hairdryer
- A sharp blade
- Clean hands and plenty of patience
Step 1: Clean the Plastics
Remove any old graphics and leftover glue.
Clean each plastic thoroughly using panel wipe or isopropyl alcohol. This removes grease, polish, silicone and dirt that can stop the graphics from sticking properly.
Allow the plastics to fully dry before applying anything.
Tip: Avoid using oily cleaners, bike shine or silicone sprays before fitting graphics.
Step 2: Line Up the Graphic First
Before removing the backing paper, place the graphic onto the plastic and check the fit.
Look for key points such as:
- Number plate edges
- Bolt holes
- Plastic curves
- Airbox lines
- Seat edges
- Panel corners
Once you’re happy with the position, you’re ready to start applying.
Step 3: Apply the graphic
Peel a 1cm strip out of the middle of the backing paper and place the sticker in place on the panel.
From here you can peel one side of the backing paper off and being to work out from the centre towards the edges.
Use your fingers or a squeegee to push the graphic down gradually.
Working from the centre outwards will help push out air bubbles.
Take Your Time Around Curves
Motocross, trials and adventure bike plastics can have lots of curves, edges and awkward shapes. For curved areas, gently warm the graphic with a heat gun or hairdryer. This makes the vinyl softer and easier to shape.
Do not overheat it. You only need enough heat to make the graphic flexible.
Tip: If the graphic starts to crease, stop, gently lift it back, add a little heat and reapply slowly.
Step 4: Heat and Seal the Edges
Once the graphic is fitted, gently heat the edges and press them down firmly.
Pay extra attention to:
- Corners
- Edges
- Bolt holes
- Areas near the fuel cap
- High-wear areas where boots and knees rub
This helps the adhesive bond properly to the plastic.
Step 5: Leave the Graphics to Bond
After fitting, allow the graphics to settle before riding or washing the bike. For best results, leave the bike in a warm, dry place for at least 24 hours. Avoid pressure washing the bike straight away.
Final Tips
Fit graphics in a clean, warm environment.
Always clean the plastics properly before applying.
Use heat carefully — too much heat can stretch or damage the vinyl.
Don’t rush curved areas.
Press down all edges firmly once fitted.
A careful install will help your graphics look better and last longer.
